Set Up your WP Engine Account
Please review all 7 steps before beginning the WP Engine account creation process. Reminder: The most important detail of this process is the use of the Google Master Account email address when signing up for your WP Engine account.
Step-1. Click the below button labeled “Create My Account.” A new window will open that will contain the WP Engine account signup interface. Leave the new window open and return to this page to continue following the instructions.
Create My Account
Step-2. Return to the WP-Engine window. Scroll down the page until you see the plan types. Click the “Get Started” button next to the plan type that you were directed to use by Parkway Digital.
(The plan type was likely to have been provided to you in an email from Parkway Digital.)

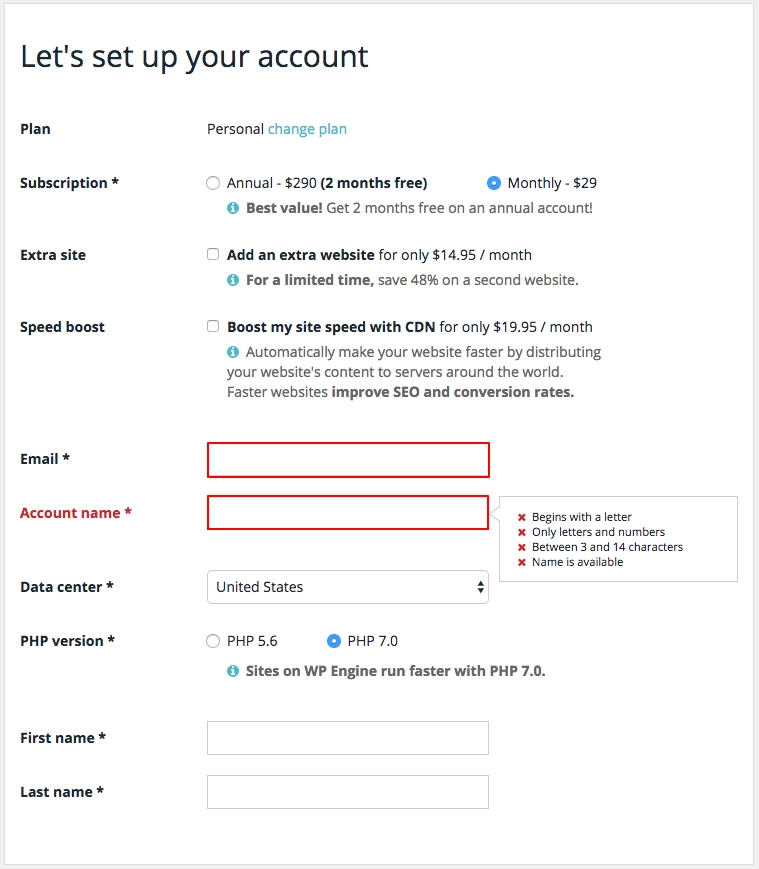
Step-3. Enter your information. For the Email field, you MUST enter the Google Master Account email address you were provided by Parkway Digital.
The Google Master Account email address was likely to have been provided to you in an email from Parkway Digital.
The Account name can be anything you want. We suggest the name of your business, abbreviated so as not to be too long.
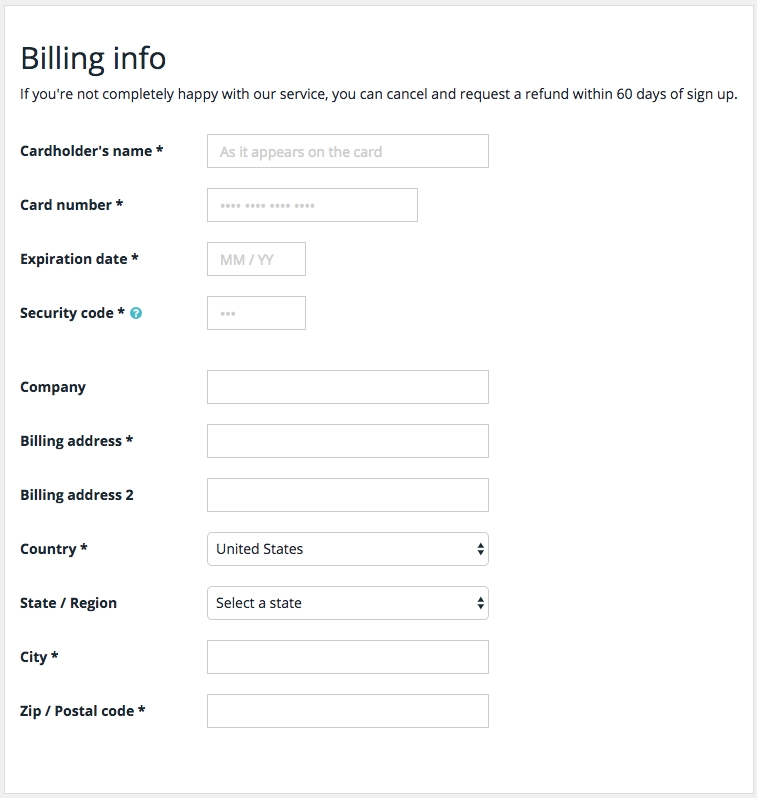
Step-4. Enter your billing information.
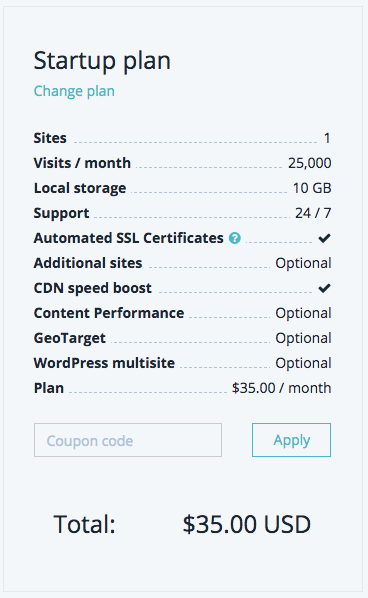
Step-5. Add a coupon, if you have one.
Step-6. Accept the terms of service and then click the “Create my website” button.
Step-7. Submit your new login information to Parkway Digital by completing the below form and clicking the “Send Credentials to Parkway” button. These are the credentials you used when you established the account at WP-Engine, so make sure they match.
Send Credentials to Parkway
8. You’re all done! Parkway Digital will notify you when the account setup has been completed.